
We're coming up on my favourite time of the year, Thanksgiving, Halloween and Christmas!
Thanksgiving is nice to see family and such, but Halloween and Christmas are my favourites because I love decorating the house! I came across a fun Halloween scrapbook paper pack that gave me a crafty idea. Our dining room area is a pretty decent sized room, that in the next year I plan on making it into a family room on the one side - which will consist of an electrical fire place with a mantel. So the idea of having season related banners hanging off of the fireplace gets me really excited.


I quickly put together this Halloween banner using a few of my many craft supplies. This is what I used for this particular banner:
1. The K & Company "Spooktacular" Paper Pack (Any Halloween scrapbook card stock would work)
2. My Cricut Machine and Cricut cartridge "Celebrations" (I used this to cut the banner out, you can find hand punches to do this as well, or simply cut out some triangles)
3. Orange or Black Bakers Twine
4. Lawn Fawn "Quinn's Capitol ABC's" Stamps (Or any alphabet stamps would work just as fine)
5. Tape Runner
6. Memento Ink (Black)
7. Small Hole Bunch (I believe mine is a 1/8")
8. Heavy white card stock (one that works well with Copic markers, mine is from Papertrey Ink)
9. Copic Markers (For this particular project, you can use regular markers as there isn't very much shading in the project)
10. Foam Adhesive
11. Stickles
12. Paper trimmer or scissors
Firstly I cut out my banner shapes using my Cricut machine and the celebrations cartridge. I cut each banner at 4" and used a variety of different sheets from my Halloween paper pack. You can do as many of each design as you want.

I then cut out some white circles using my heavy card stock. I cut these at 3 1/4".


I stamped "Happy Halloween" using my Lawn Fawn stamps. I decided I wanted something on either sides of the "Happy", so I stamped two stars from another stamp set I had (Papertrey Ink stamp set, "Tremendous Treats Halloween").


I coloured in my stars using my copic markers. This step does not necessarily require Copics as I only shaded/blended a tiny bit.


I then proceeded to colour in all of my letters.


I laid out all of my different patterned pieces, making sure there wasn't two of the same next to one another. I then used foam adhesive to pop up the circle and to give a little bit of dimension.
I found the letters to be a bit boring, so last minute I decided to use coordinating stickles to jazz up the letters.


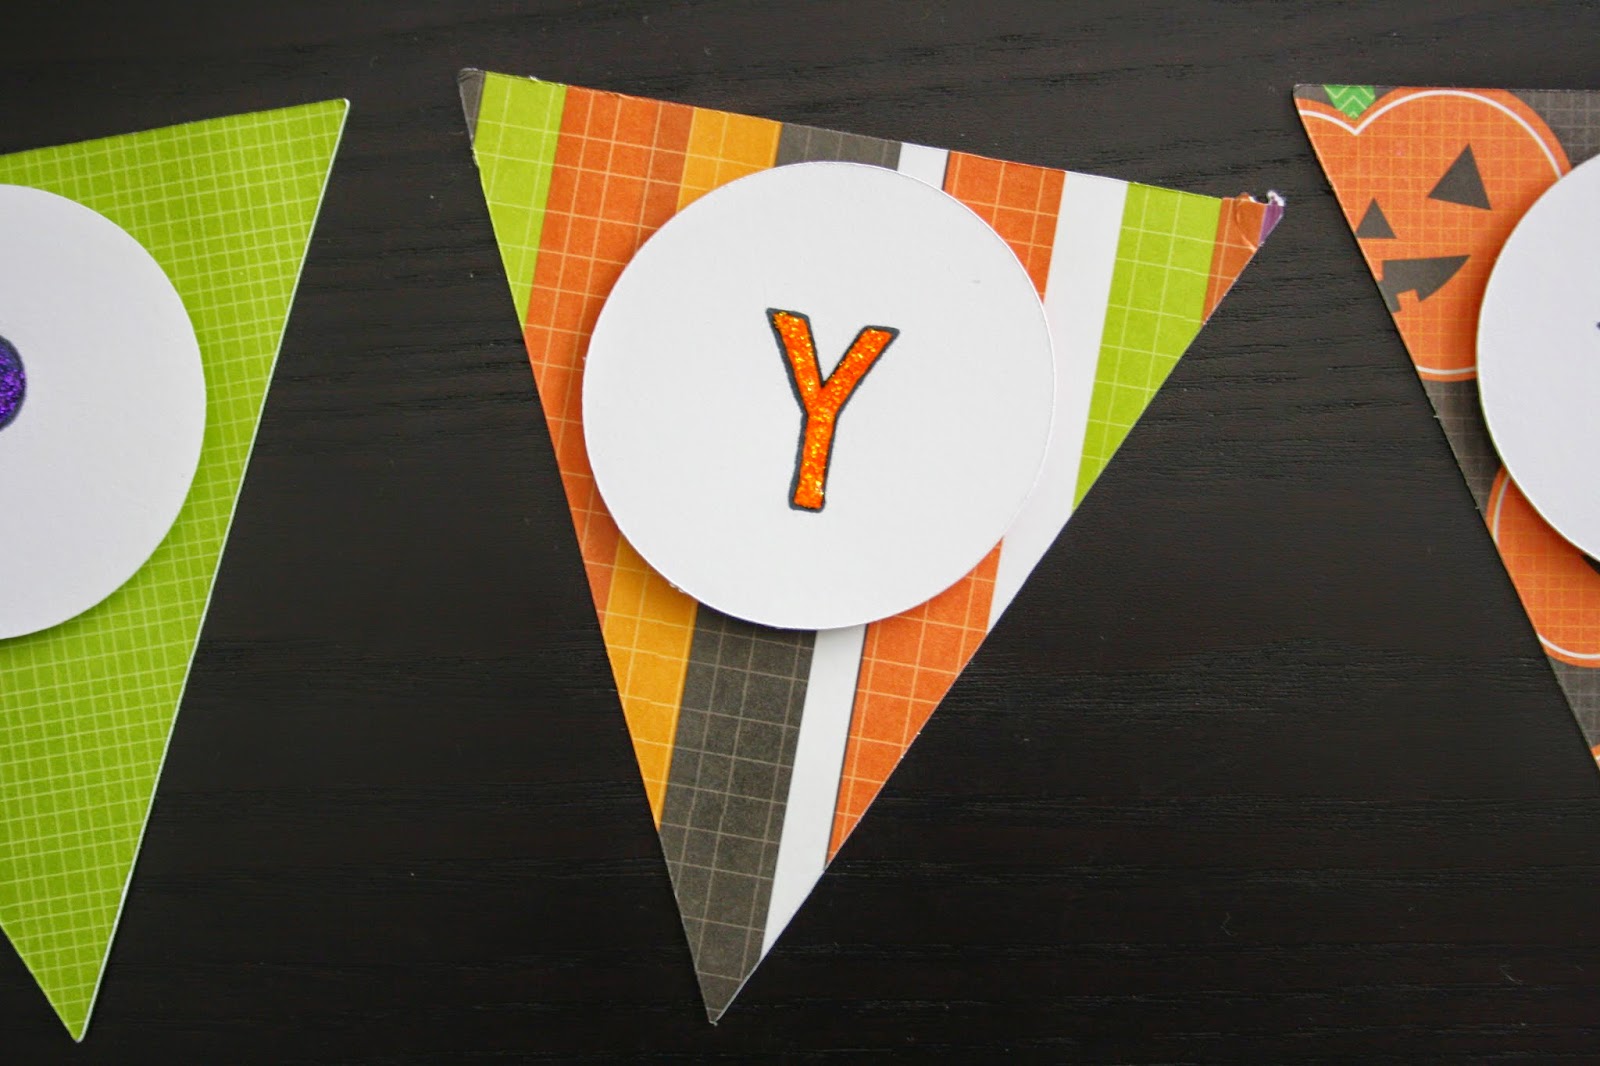

 I'm so glad I decided to add stickles to the letters, it really made a difference.
I made holes using my smaller hole punch and thread through my orange bakers twine. I decided to thread it through the back so the twine wasn't in front but you can choose to do it either way. I may even switch it around so you see the twine more.


I left about 5 inches on either side and created a small loop on each end, just in case I wanted to use tacks to hang the banner up.

The photos don't actually do it justice, it turned out pretty cute. Once Halloween comes along, I will be excited to find someplace to hang it. I'm now thinking of doing some different banners for all of the holidays!
No comments:
Post a Comment